|
| Home | Major | J-head | Gallery |
| I haven't had time to colour match or adjust the exposures of these shots so the quality varies considerably. Some were shot outside at night with flash, some with natural light, some indoors with tungsten or window light - so the colours are very variable. Still, I thought someone might find them useful so here they are. |
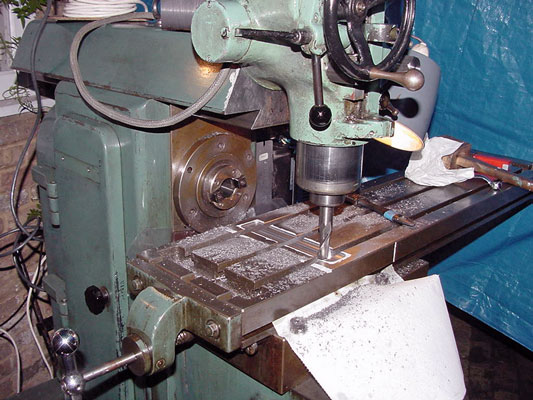
[Left] Each pocket was cut initially with slot drill chosen to suit the corner radius and then finished with a bull-nosed cutter to match the original pocket's bottom profile. |
 |
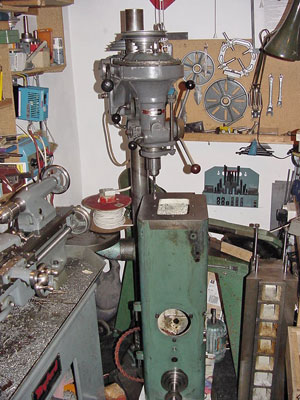
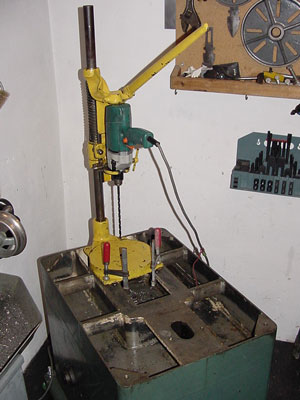
[Left] Drilling three extra fixing holes in the bottom of the upturned body to combat the extra overhung weight/leverage of the head. |
 |
 |
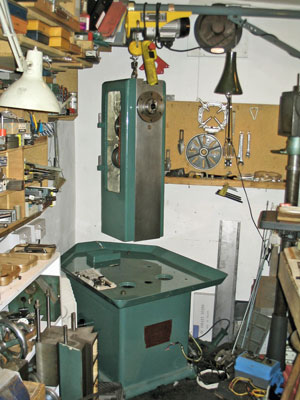
[Left] Craning the completed body into position on the finished base. Notice how the chip tray corners have been chamfered at the rear to get the base tight into the corner. (For more info on the crane, see the article featured on the homepage.) |
 |
 |
| More pics to come when I have them. |
© Neil Fazakerley, 2010.
Home